Showing posts with label diy. Show all posts

Scrapbooking

Thursday, April 02, 2015


It seems like recently, anyone & everyone are getting involved with scrapbooking! I've personally been scrapbooking for about 2 years and have somehow accumulated my own stash of books filled with memories that I'd otherwise forget. Seen as the recent interest in scrapbooking has come about, I thought I'd share a few photos from my scrapbook and a few tips on how to make your own. For me, the number one rule to scrapbooking is to have fun. It's supposed to be a fun experience where you can let all of your creative juices flow with no limits - a little like blogging but on a more personal level.

Pumpkin Vase

Wednesday, October 29, 2014
Pumpkin Vase 1

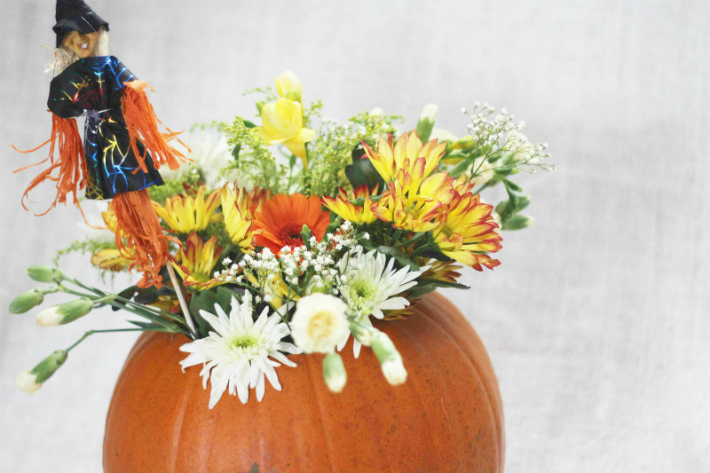
Autumn is my favourite season for many reasons but the one that always comes to mind first is Halloween. We rarely decorate the house to celebrate it, much to my dismay, because my mum is very keen on maintaining her show-home, monochrome standards. I love Halloween and all that it entails so I was determined to sneak a bit of orange into the house somehow. After a session on Pinterest that somehow ended being 3 hours long (I don't know how I do it), I came across a few pumpkin vases. I love the way that they look so I decided to make one for myself!
Pumpkin Vase 2 Pumpkin Vase 3

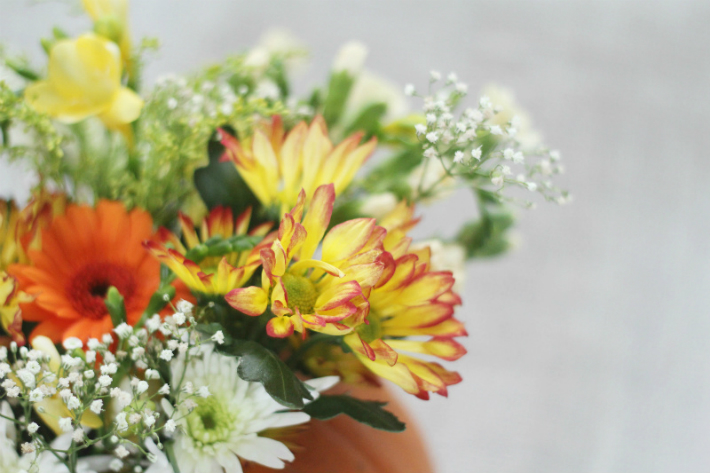
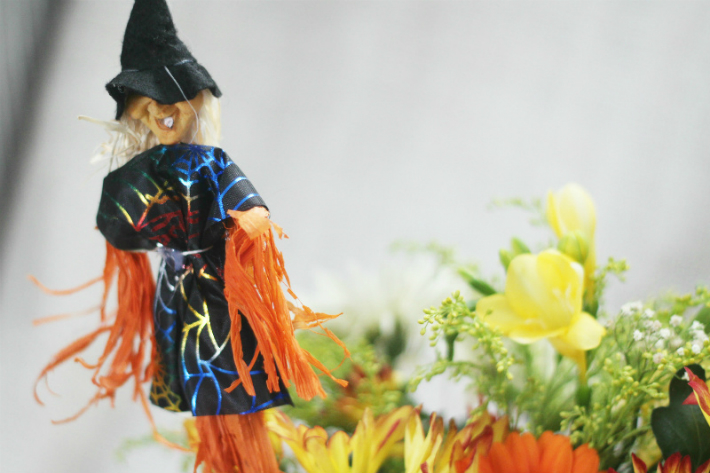
The vase itself is actually so easy to make, all you need is a bunch of flowers and a pumpkin. I opted for yellow, white and orange flowers because I thought they looked more seasonal & fitting with the shade of pumpkin. I also added a small witch that came with another house plant that I bought but you can find some accessories from the Halloween section in any big supermarket and add that to the flowers.

Simply, you just have to cut the top of the pumpkin and scoop the inside bits out, just as you would do if you were carving shapes into it. Then, chop the bottoms of the flowers so that they fit within the pumpkin and arrange them how you like. Once you're done, just mix the sachet of flower food that comes with the flowers with a bit of water and pour it into the inside of the pumpkin. This makes sure that your flowers don't wilt and stay healthy! There's so many variations and alterations you could do with this - you could decorate the pumpkin with permanent markers, make shapes with washi tape or even tie a ribbon around it. Have fun with it!

DIY Polaroids

Saturday, July 05, 2014


There's not many things I love more than sitting down and going through old memory boxes full of photos. Nowadays our photos are stored on social networking sites like Instagram, Facebook and Twitter and it means those special nostalgic sessions are few and far between. One thing I've loved doing lately is making my own DIY Polaroids (which are so easy and cheap to make!) and storing them in a cute memory box for me to look over every now and again.


For this little DIY you will need:
// Photos
// Scissors
// A Ruler (if you tend to make wonky lines)
// Card
// Glue


The first step is to print your photos. I used the FreePrints app (use invite code edopson2 for extra bonus prints) and imported my photos straight from my private Instagram account. This is such an amazing service and you get all of your 6x4 photos printed for free and your first 10 photos receive free delivery. It took such a small amount of time for these to be delivered and the quality is amazing. I then cut them into squares.


After your photos are all in squares, glue them on a piece of card and leave approx. 2 inches below to write your captions. To make sure all of the captions on your photos are the same size, turn them upside down and trim the tops off. 


Once the photos have been glued and the cards have been cut to the right shape, use a permanent marker to write your captions and voila! You have your own DIY Polaroids! I like to store mine in this little floral box from Tesco's and it makes a lovely little coffee table piece. Everyone who comes to your house can have a flick through your photos and if some of the people who visit are in the photos, it makes it even more special!  I think this is such an amazingly cheap way to store your photos and to make 10 of them, it cost me around £2... Amazing!


Another Failed DIY...

Wednesday, April 02, 2014
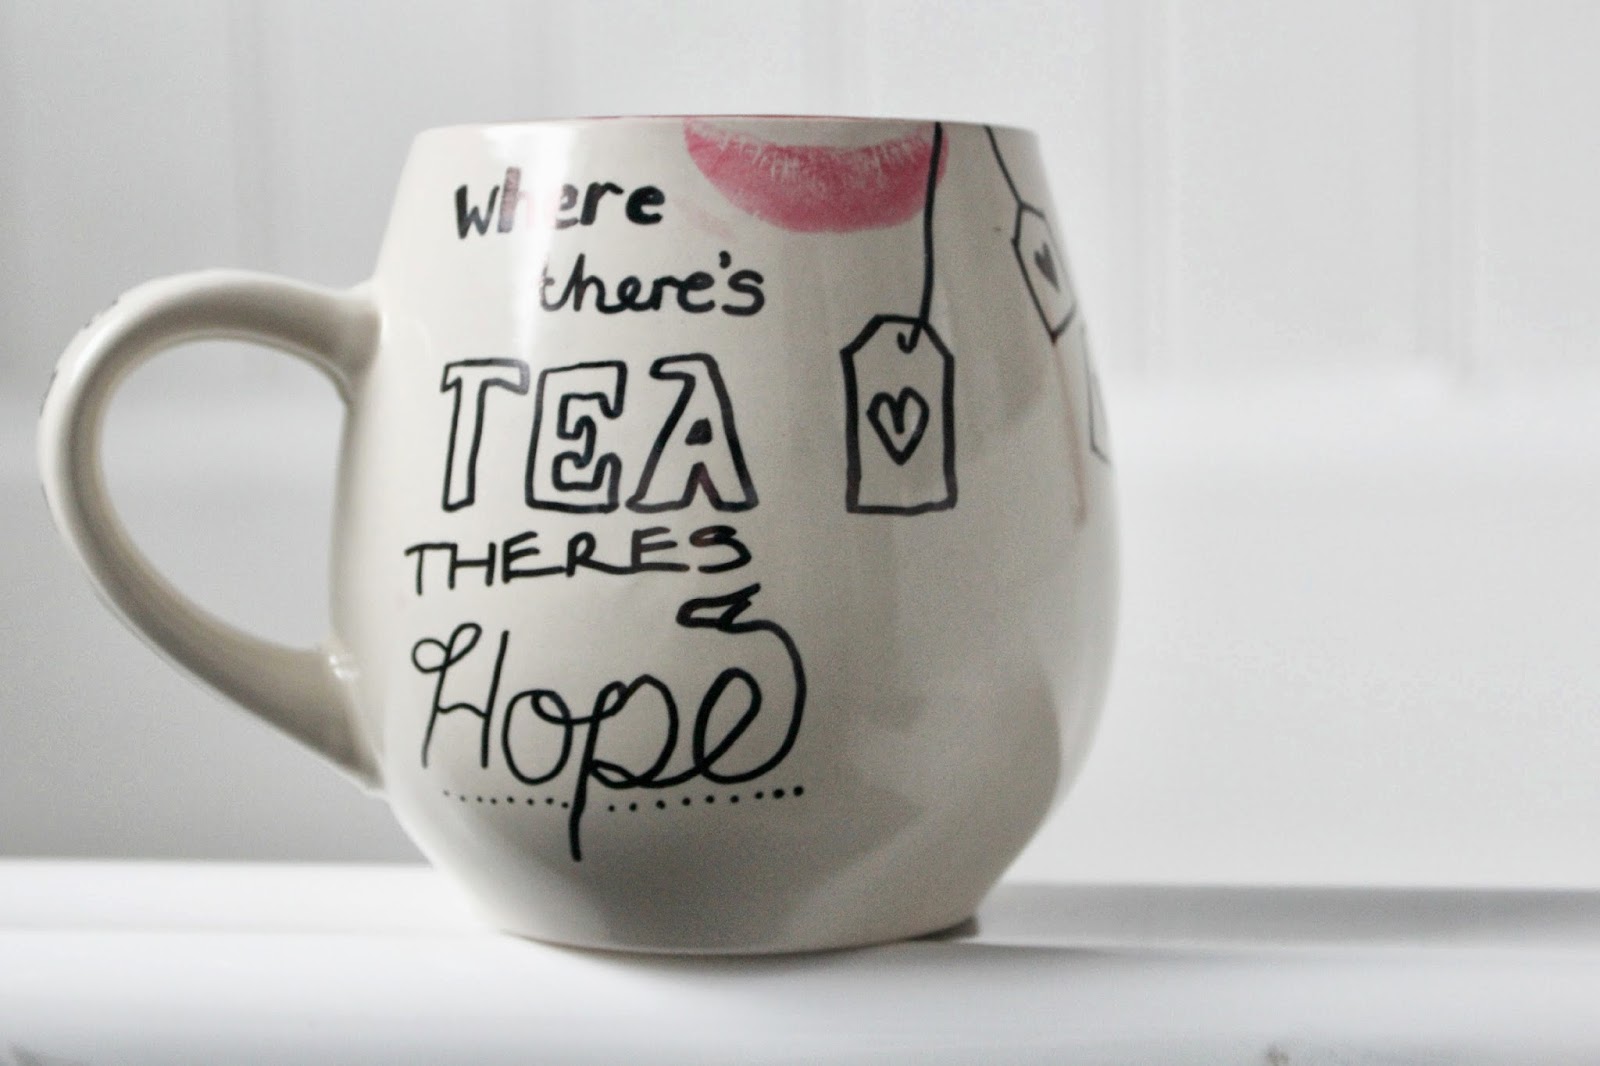
Seen as though this blog is a place for me to share everything, I thought I'd document a little DIY that failed massively. The DIY Sharpie Mug from A Beautiful Mess is something that I've been wanting to do for a while but every time I go out, I forget to pick up a Sharpie.


So all you need is a cup that you want to draw on and a Sharpie/any other permanent marker. You simply draw on whatever you want then place the mug into the oven for about 10-15 minutes on about 180 degrees. Now everything was fine for me up to this point - I tested my typography skills and just typed in 'tea quotes' to Pinterest. I pretty much covered the mug as well as the handle and then it was fine.

The part where this failed was when I came to wash it. The original post says that it should be fine when handwashed, but dishwasher-ing was where it perhaps flawed. Wrong. I washed this gently with normal Fairy Liquid washing up liquid and all of my efforts and time had been completely wasted. Within as little as two washes, the markings were gone and I was back to my original, boring mug. :(


DIY Headband

Thursday, March 27, 2014
I'm all for quick and easy when it comes to physical appearance, whether that be with hair, makeup or clothing. I've come up with a little DIY headband that takes a matter of seconds to do and will look like you've spent some time on it... Perfect if you're heading to work in a rush!


All you need to do is braid a small bit of hair from the bottom corner of your head, below your ear. Once you've braided it, pull it over the front of your head and clip it down with a bobby pin or two on the opposite side behind the ear. Your hair will need to be medium-long length to do this because it needs to go the full length of your head. Once you've done this you can really style it however you want - curly, straight or even tied up. 

I must add, this looks better if your hair is ombred. My hair at the moment is a mess, due to asking the hairdresser to blend it in some blonde and I left the salon with a line across my neck where the ginger starts. Not good. It looks like I'll have to continue this until I dye it back! Why is it always hairdressers do the opposite of what you ask? Not fun.


fast & easy special effects makeup

Monday, November 04, 2013
special effects makeup for film and tv - now that's a dream job of mine. ever since being little, i was amazed at how real fake blood, cuts and scars look, and how the artists created them. i hinted on twitter earlier this week, but i have got an interview to do media makeup at college. i am so excited i can't even put into words. i've been waiting what seems like forever to leave school and just do makeup and prosthetics as a job & i feel like this is the first step for me. yay!

i've been playing around and getting used to using different makeup for my college portfolio. i bought some little bits from a fancy dress shop in my local town and managed to create this. i am well aware it is not the best, but it's a really quick, simple and easy thing to do which looks impressive to people who don't know much about it. anyway, if you're interested, keep reading!